


Recently I bought a bunch of Ciao markers. I decided to get them because of the price, and they were 30% off. The thing I don't like about Ciaos is that they do not have the color number on the end of the markers. Well, here is a blog post by Asela Hopkins that has a pdf file for you to print the labels for the end of the markers. How fun is that? So, I used her amazing file to label my new Ciao markers. Let's look specifically at what I did.
Printing the File
First, I printed the pdf file on X-Press It cardstock. The file is only half of a sheet so you will still have some cardstock to save. Once I printed the file, I trimmed the paper keeping two rows of labels on each strip. This way the strips would be easy to hold, punch, and store.
Preparing and Creating the Labels
Next, I used Mini Glue Dots, a 1/4" circle punch, and the marker itself to prepare the labels.

I first punched the label, attached it to the cap using a Mini Glue Dot, and then I colored the label with the marker so I can see the matching color instead of have white cardstock on the end of each label. Here is what a few of them look like after they have their new labels:

And here is how they look with Sketch markers in my storage unit:

Isn't it wonderful? I know I am going to love this. Yes, the print is tiny but it is better than nothing!! Also, I only put the labels on one end of each marker. I could certainly have done both ends but I didn't think it was necessary. I just need to make sure I put them away each time with the label showing.
Storing Extra Labels
Since I do not have many Ciao markers, I have kept the extra labels so that if I get anymore I will have them ready to go to label new markers. I decided the easiest way to store the extras was to put them in the back of my Copic swatch book using a binder clip. This will work perfectly.

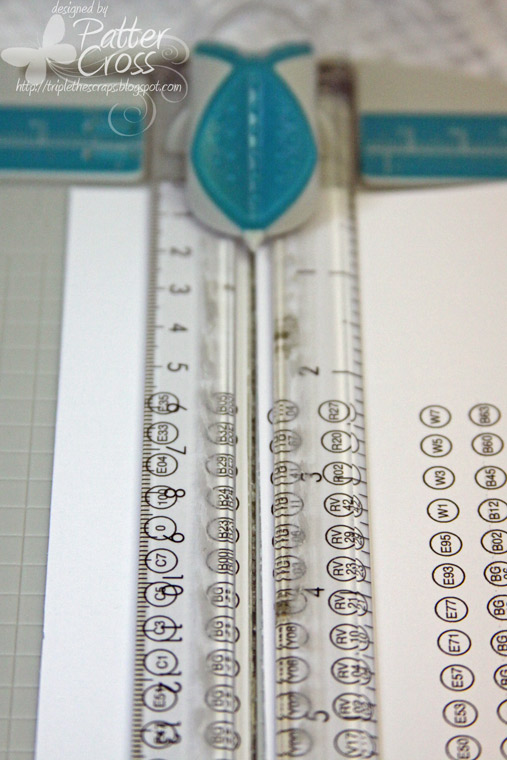
Also, to note which markers are Ciao in my swatch book, I just circled the Ciao abbreviation in the book. Super simple. That way when I match a color I want to use I will easily know if I am looking for a Sketch marker or a Ciao marker. Look below at BG01 to see how I have marked each Ciao marker:

I hope this has been helpful to each of you, and a huge thanks to Asela Hopkins for creating the great pdf file! Have a blessed weekend ahead, and happy labeling!


20 comments:
You did a great job organizing your markers. I'm coming back to this post when I finally get my Copics. Thanks for sharing!
what a fantastic idea! you are now sooo organized with your markers!
thanks for stopping by my blog today and taking the time to leave such a kind comment! i truly appreciate it. I would be honored if you signed up to follow me and i would do the same. thanks again. mary pat
What a great idea!
I'm doing this over the weekend. I have Copic Certification on Sunday, so will be in a Copic zone all weekend. woot woot! Thanks, Patter!
very cool organization!!! and can't wait to see what you create with them..
I don't have these markers but will pass this along to some friends that do. great post, patter!!
Oh, wow! Love this idea. TFS :)
Hi Patter
You are the queen of organisation! Not only your things are greatly organised but everything looks so beautiful!
Have a nice weekend.
Wow, great tip! You're so organized!
Now that's organized! Awesome!!! xoxo
Thank you, Patter! Have a blessed weekend!
He IS Able,
Traci S.
Fab idea... thanks for sharing.
Thanks for the link! I finished mine and posted it on my blog today :) Looks fabulous!
Thanks for your labels-I ran mine on full sheet permanent adhesive labels and then punched them out-avoids having to use glue dots.
Do you happen to have the pdf file with the labels? the link you provided no longer works. Thanks!
Hi Patter,
I've been stamping for quite a few years and this is the first time I run into your blog.
Love your work and am most impressed with your work.
I have a question regarding the ciao copics. the link to Asela's blog is not working, do you perhaps still have that file and would be willing to forward it?
my email is enchantedstamper AT gmail DOT com
Have a great day, and thanks so much
Hi Patter,
I too have had no luck in linking to Asela's blog to download the PDF file for Cioa labels. Do you know of another way to obtain it? Cardanhoop @ aol dot com
Blessings!
Having the same issue. I was to her blog first and the link doesn't work and attempted to download it here. Any chance you still have the file and can email it to me.
Thanks!
I'm a little late to the party, but just wanted to thank you for this post. My unlabeled ciao markers are driving me nuts. I love the idea of my cardstock (and the marker color) and a glue dot to adhere the label to the marker cap.
I hope you can help me find the chart to print off for labels for my Ciao copic markers as the link doesn't work and I just found your post about it. Would love to be able to add the numbers to them. I see other people haven't been able to get through on the link either. I know that was a long time ago but I am hoping I can still get the pdf. Nana
griffin64@yahoo.com
Post a Comment