Yes, it's Sunday. Yes, I am posting a Friday post on Sunday. But, we just got back from a glorious 1 1/2 week vacation. And today I wanted to share with you what I took along and how I was able to create during our vacation time. First, I knew I wanted to take an art bag. While I have tried to put together art bags in the past, I never liked what I came up with. Well, I think I finally found what I love, and I used daily on our trip.
The Bag
I purchased a Vera Bradley Large Blush and Brush makeup bag from eBay. This bag retails for $52 but have seen it from about $28 so be sure to watch the prices if you look for one. It has lots of pockets and then even pockets for brushes (see pictures below). This bag is perfect for your projects, and easy to take along with you.
Contents
So, what did I put in this bag? Well, my thought was to journal and watercolor so that dictated what I decided to put inside for this trip. So, here is what I packed in this wonderful bag.
- Global Art Materials 5-1/2-Inch by 5-1/2-Inch Drawing Book
- (15) 5x5 printed coloring pages
- Scrap paper
- Glue stick
- Tape runner
- Scissors
- Faber-Castel Clic and Go Collapsible cup (not pictured)
- (28) Winsor and Newton watercolor half pans
- (3) Washi tapes
- (5) Pigma Micron pens, various sizes
- (2) Waterbrushes, various sizes
- (2) Simply Simmons paint brushes size 12 round and 3/4" flat wash
- (3) labels
- Illustrated Faith Bible mat
- 6" ruler
- Mechanical pencil
- Pitt pens
- Whiteout pen
- Stabilo All pencil
- Pencil sharpener
- Papertowels
- 2"x3" Acrylic block (not pictured)
- Technique Tuesday Classic Ali Edwards stamp set
- Technique Tuesday Explore Arrows stamp set
- Project Life date stamp
- (2) Hotel keys
- Brayer
- Archival jet black ink
Printed Coloring Sheets
The coloring sheets I took with me were ones I printed for free from the web. Most are from Alisa Burke as I love her style. I put the images into a Microsoft Word document, resized, and printed two to a landscape page onto regular printer paper. Once printed, I trimmed to 5x5. To see some of the pages I used, feel free to look at my Pinterest Coloring Pins by clicking here.
To store the coloring sheets, I just put them inside the journal. They fit nicely. And because the elastic band keeps the journal closed, the papers did not fall out or get bent in my travel art bag.
My Creations
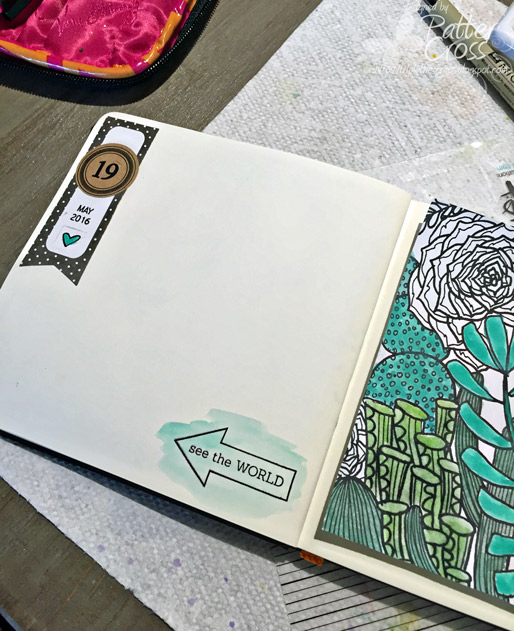
Here are a few of my pages from our trip. This journal allowed me to have fun with art while I was gone while also journaling about our trip. To paint and color my pages, I used this video from Alisa Burke as inspiration.
Thanks for joining me, and as always, let me know if you have questions in the comment section. I will answer there. I would also love to know what you think. And I hope you have fun packing your own travel art bag! Have a blessed week ahead everyone!
View blog post for supplies


7 comments:
L-O-V-E it!! Thank you so much for posting this. It gives me alot of ideas! That bag looks to be a good size and like it can hold alot. And I love the idea of using the brush holders for pens, etc. I also love your journal. What a great way to document your trip! :)
Patter what a great suggestion. Getting ready for a family vacation and what I can take on plane is very limited, but I have to have something along to do and unwind after grandkids are settled in. Thanks.
So cool to see what you took. Love the suggestion to cut down coloring sheets.
Your journal looks wonderful , love the colours you've used for the flowers !
Wonderful idea! Beautiful way to organize for a trip. Thanks for sharing. :)
We walked along coast, harbor and through town and then back on the Ringroad headed West. מלונות בחו"ל
I wanted to thank you so much for info on free color classes. Loved Kaylee and now doing water color one. THANKS SO MUCH! Could not figure out how to comment on appropriate post.
Post a Comment